
15 Lightweight Backpacking Essentials You Should Pack
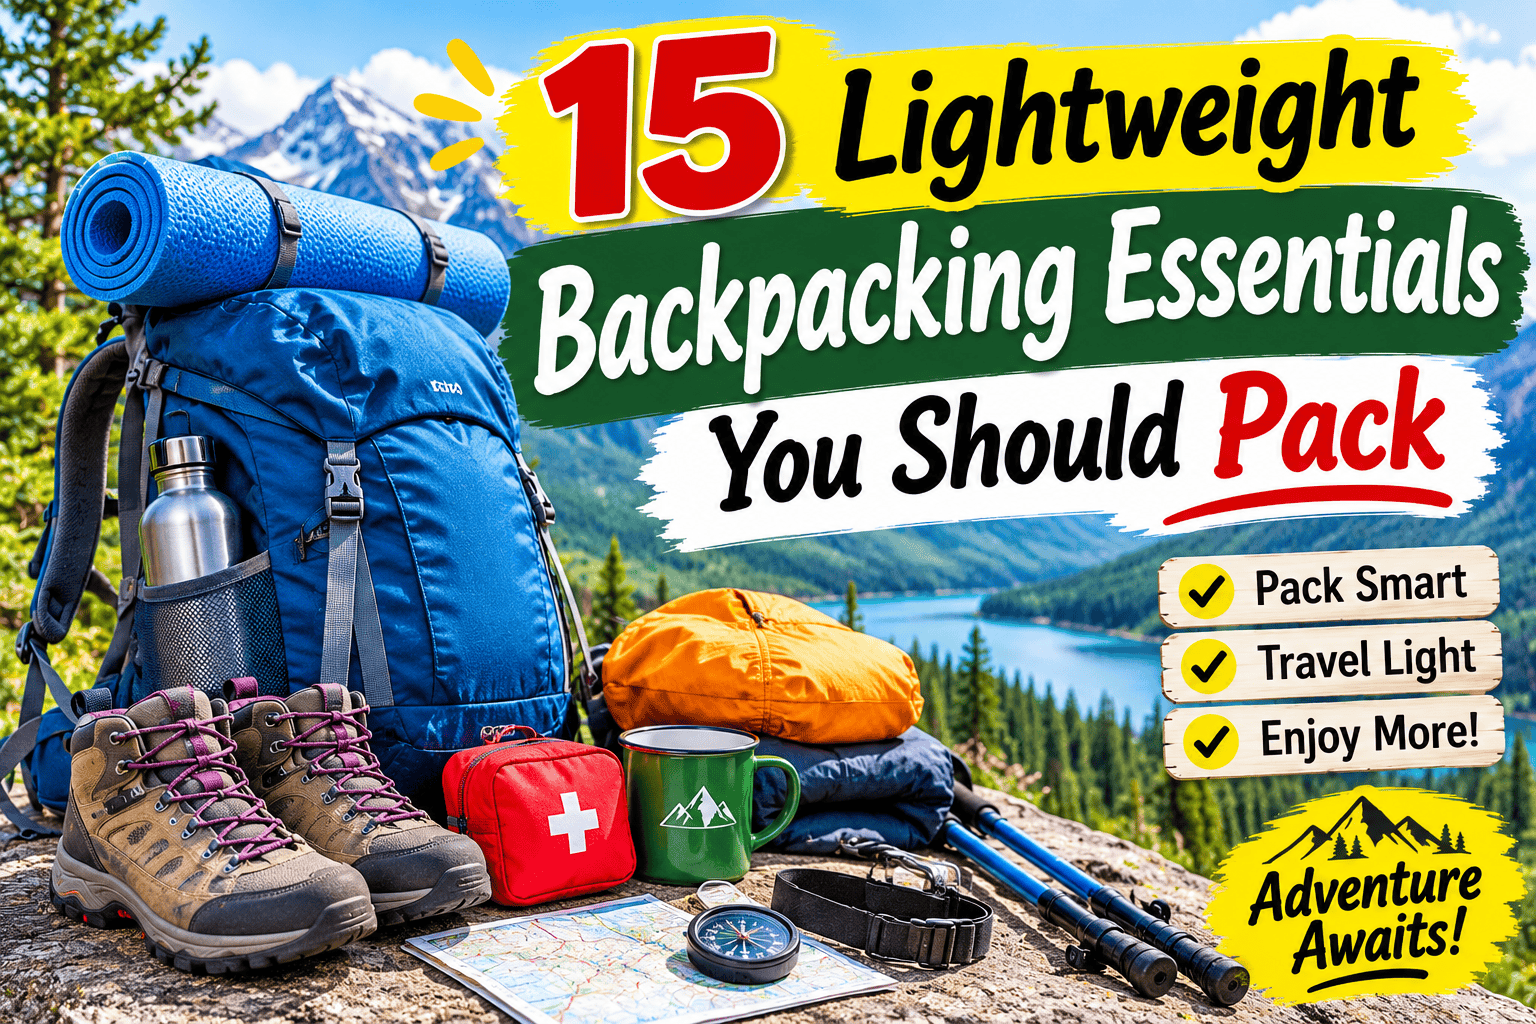
Cut the weight, keep the safety: a practical gear list for lighter, happier miles on the trail.
Every ounce counts when it’s on your back for 10 miles a day. A heavy pack means sore shoulders, tired legs, and less fun, while a lighter one lets you hike farther, enjoy the views, and recover faster. But going lightweight doesn’t mean going without. The goal is to carry the right things, and nothing you don’t need.
Here are 15 lightweight backpacking essentials, why each matters, and how to keep the weight down. Needs vary by trip length, terrain, climate, and experience, so adjust this list to your own plans and check local regulations and conditions before you go.
The Lightweight Mindset
- Know your base weight. Base weight is everything in your pack except food, water, and fuel. Many backpackers aim for under 20 pounds, and ultralight hikers aim for under 10, but the right number depends on your comfort and safety needs.
- Focus on the Big Three first. Your pack, shelter, and sleep system are usually the heaviest items, so they offer the biggest savings.
- Choose multi-use gear. A trekking pole that holds up a tarp, or a buff that works as a hat, scarf, and headband, saves weight.
- Don’t sacrifice safety. Skip luxuries, not essentials such as navigation, first aid, and weather protection.
- Weigh everything. A cheap kitchen scale reveals where the grams are hiding.
15 Lightweight Essentials
1. A Properly Sized Backpack
Your pack carries everything else, so fit and weight matter. Look for a frame or suspension suited to your load, a comfortable hip belt, and a capacity that matches your trip, often 40 to 55 liters for a few nights. A pack that’s too big tempts you to overpack.
- Typical weight to aim for: 2 to 3 pounds for a lightweight pack.
- Tip: Get fitted at an outdoor store, and test with weight before buying.
2. A Lightweight Shelter
Your shelter protects you from rain, wind, and bugs. Options include ultralight tents, tarps, and hammocks with rain flies.
- Typical weight to aim for: 1 to 3 pounds.
- Tip: Trekking-pole tents save weight by using your poles instead of separate tent poles. Practice pitching it at home first.
3. A Sleeping Bag or Quilt
Pick a bag or quilt rated for the coldest temperatures you expect, with a small safety margin. Down insulation is light and compressible but loses warmth when wet, while synthetic insulation is heavier but performs better in damp conditions.
- Typical weight to aim for: 1 to 2.5 pounds.
- Tip: Keep it dry in a waterproof stuff sack or liner.
4. A Sleeping Pad
Your pad insulates you from the cold ground as well as cushioning you. Closed-cell foam pads are tough and cheap, while inflatable pads are more comfortable and pack smaller.
- Typical weight to aim for: 8 ounces to 1.5 pounds.
- Tip: Look at the R-value, a measure of insulation, and match it to the season.
5. Water Filter or Purification
Safe drinking water is non-negotiable. Lightweight options include squeeze filters, gravity filters, chemical tablets, and compact UV purifiers.
- Typical weight to aim for: 2 to 6 ounces.
- Tip: Carry a backup method such as tablets, and follow the manufacturer’s instructions.
6. Water Bottles or a Hydration Reservoir
Light, durable containers make hydration easy. Many hikers use lightweight, reusable soda or sport bottles, collapsible flasks, or a reservoir.
- Typical weight to aim for: Just a few ounces each.
- Tip: Plan your water sources ahead, and carry capacity that matches the distance between them.
7. A Lightweight Stove and Cookware
A small canister stove and a single pot can cover most backcountry cooking. Some hikers skip cooking entirely with cold-soak meals.
- Typical weight to aim for: About 6 to 12 ounces for a stove, pot, and utensil.
- Tip: Bring a long-handled spork and a lighter, and check local fire and stove regulations.
8. Efficient, Calorie-Dense Food
Food is heavy, so choose items with plenty of calories per ounce, such as nuts, nut butter, tortillas, instant oatmeal, dehydrated meals, cheese, and olive oil. Plan portions carefully and pack a little extra for emergencies.
- Typical weight to aim for: Roughly 1.5 to 2 pounds of food per person per day, depending on your needs.
- Tip: Repackage food into lightweight bags to cut bulk and packaging weight.
9. A Rain Jacket
Wet and cold can be dangerous, even in summer. A lightweight, breathable, waterproof jacket protects you from rain and wind, and works as an extra layer in the cold.
- Typical weight to aim for: 6 to 12 ounces.
- Tip: Check seams and zippers, and wash and re-treat the fabric as needed.
10. A Warm Insulating Layer
A lightweight fleece, puffy jacket, or insulated vest keeps you warm at camp and in the early morning. Layers are more flexible than a single heavy coat.
- Typical weight to aim for: 8 to 16 ounces.
- Tip: Keep your insulation dry in your pack, and use it with your sleep system when it gets cold.
11. Navigation Tools
Never rely on one method alone. A paper map and compass are lightweight and don’t need batteries. Phone apps, GPS devices, and offline maps are useful extras.
- Typical weight to aim for: 2 to 8 ounces, plus a phone you’d carry anyway.
- Tip: Learn how to use your map and compass before you need them, and download offline maps in advance.
12. Headlamp
A small headlamp keeps your hands free for cooking, setting up camp, and walking after dark. Choose a lightweight model with a red-light mode, and carry spare batteries or a power bank.
- Typical weight to aim for: 2 to 4 ounces.
- Tip: Test your batteries before the trip, and consider locking the switch to prevent accidental drain.
13. A Compact First Aid Kit
Carry a small kit tailored to your trip: bandages, blister treatment, gauze, tape, pain relievers, antihistamines, antiseptic wipes, tweezers, and any personal medications. Add a lightweight emergency blanket.
- Typical weight to aim for: 4 to 8 ounces.
- Tip: Learn basic wilderness first aid, and check your supplies regularly for expired items.
14. Sun and Bug Protection
Sunscreen, lip balm with SPF, a hat, sunglasses, and insect repellent protect you from sunburn and bites. Lightweight long sleeves and a buff can cut the need for extra products.
- Typical weight to aim for: A few ounces in small containers.
- Tip: Decant into small bottles, and consider a head net in buggy areas.
15. Repair Kit, Knife, and Fire Starter
A few small items can fix big problems. Pack duct tape wrapped around a trekking pole or lighter, a few feet of cord, a patch kit for your pad, a small knife or multi-tool, and a fire starter or two.
- Typical weight to aim for: 3 to 6 ounces.
- Tip: Choose lightweight tools, and only bring what you know how to use.
Quick Reference Table
| Category | Item | Lightweight Target |
|---|---|---|
| Carry | Backpack | 2–3 lbs |
| Shelter | Tent, tarp, or hammock | 1–3 lbs |
| Sleep | Bag or quilt | 1–2.5 lbs |
| Sleep | Sleeping pad | 0.5–1.5 lbs |
| Water | Filter and bottles | 4–10 oz |
| Cook | Stove and pot | 6–12 oz |
| Food | Calorie-dense meals | 1.5–2 lbs per day |
| Clothing | Rain jacket | 6–12 oz |
| Clothing | Insulating layer | 8–16 oz |
| Safety | Navigation tools | 2–8 oz |
| Safety | Headlamp | 2–4 oz |
| Safety | First aid kit | 4–8 oz |
| Protection | Sun and bug supplies | A few oz |
| Tools | Repair kit and knife | 3–6 oz |
Weights are rough targets, and individual needs and gear choices will vary.
Items You Can Often Leave Behind
- Extra clothes: Bring one change of base layers and socks, not a full wardrobe.
- Heavy toiletries: Use travel-size or cut-down versions, and skip nonessentials.
- Camp chairs and luxuries, unless comfort is a top priority and weight isn’t a concern.
- Duplicate tools: Choose one reliable item over several overlapping ones.
- Excess electronics: Bring what you need, and consider a small power bank rather than multiple devices.
- Heavy cookware: A single pot is usually enough.
Tips for Packing Light
- Make a gear list. Record every item and its weight in a spreadsheet or app.
- Remove one thing at a time. After a trip, note what you didn’t use and consider leaving it home.
- Pack by weight. Place heavier items close to your back and in the middle of the pack for better balance.
- Keep essentials accessible. Rain jacket, snacks, water, and map should be easy to reach.
- Use dry bags or liners to protect your gear from moisture.
- Practice with a shakedown hike, a short trip to test your gear.
- Upgrade gradually. Replace heavy items over time as budget allows, starting with the Big Three.
- Check the forecast and trail conditions, and adjust your gear.
Safety Reminders
- Tell someone your plans, including your route and expected return.
- Know the regulations, including permits, fire rules, and food storage requirements.
- Prepare for emergencies, with a whistle, emergency blanket, and a way to call for help where possible.
- Follow Leave No Trace principles: Pack out your trash and respect wildlife and other hikers.
- Know your limits, and turn around if conditions become unsafe.
Final Thoughts
Going lightweight is about being intentional, not about suffering. Start with the essentials above, trim what you don’t need, and gradually refine your kit with each trip. A lighter pack means more energy, more comfort, and more time to enjoy the miles.
Whatever you carry, remember that the best piece of gear is knowledge: knowing your equipment, your route, and your limits. Pack smart, stay safe, and enjoy the trail.
This article is for general informational purposes only. Always research your route, check conditions, and choose gear appropriate for your skills, the season, and the environment.