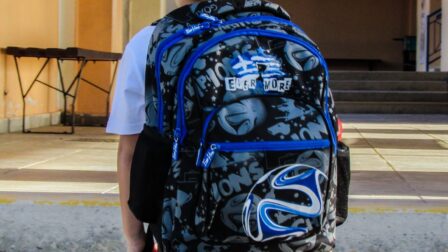
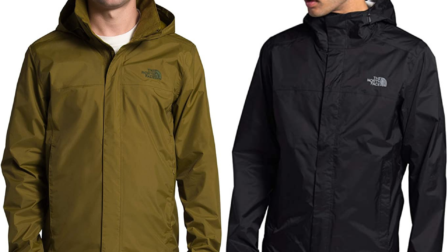
How to Repair a Hole in a Tent: A Complete Step-by-Step Guide

Fixing a tear or hole in your tent is a rite of passage for anyone who loves the outdoors. Whether a rogue ember from the campfire popped a hole in the mesh or a sharp branch snagged the rainfly, you don’t need to buy a brand-new tent.

With a few basic supplies and about 15 minutes of your time, you can perform a permanent, watertight repair that will last for years of camping trips to come.

What You Need in Your Repair Kit

Before you start, gather these essential tools. If you are out in the backcountry, keeping these tucked away in your backpack’s emergency pouch is a lifesaver:

  • Tenacious Tape (or a gear repair patch like Gear Aid)
  • Isopropyl alcohol (rubbing alcohol wipes)
  • A pair of scissors
  • Mesh repair patches (if fixing the inner tent screen)
  • Seam grip sealant (optional, for extra waterproofing on high-tension areas)

The Step-by-Step Repair Method

1.Clean the Area:2-3 minutes.

Lay the damaged section of the tent flat on a hard surface. Wipe down the fabric around the hole with an alcohol wipe. This removes dirt, campfire soot, and manufacturing oils, ensuring the patch adhesive bonds permanently to the nylon. Let it dry completely.

2.Measure and Cut the Patch:2 minutes.

Cut a piece of repair tape that covers the hole completely, leaving at least a 2.5 cm (1 inch) margin around the entire tear. Crucial step: Use your scissors to round off the corners of your patch. Sharp corners catch easily on tent bags and branches, causing the patch to peel over time.

3.Apply the Patch:1-2 minutes.

Smooth out the tent fabric so there are no wrinkles. Peel off the backing paper of your patch, center it directly over the hole, and press it firmly into place from the center outward.

4.Seal and Bond:2 minutes.

Use the back of your fingernail, a credit card, or a smooth stone to rub the patch vigorously. The friction generates a small amount of heat, which activates the pressure-sensitive adhesive and creates a watertight seal.

How to Fix Different Types of Tent Damage

1. For Holes in the Rainfly (Waterproof Outer Cover)

For major tears or punctures on the rainfly, it is best to patch both sides (inside and outside) for maximum strength against heavy wind and downpours.

⚠️ Pro Tip: Never use standard duct tape for a long-term tent fix. The adhesive on duct tape breaks down when exposed to the sun and moisture, leaving behind a gooey, sticky residue that ruins the tent fabric.

2. For Holes in the Mesh/Screen

If a mosquito or bug screen gets a hole, standard fabric tape will block the airflow. Instead, use a specialized mesh repair patch:

  • Clean the screen area.
  • Place a mesh patch over the hole (these usually have a ring of clear adhesive around the edges).
  • If you’re in the wild and only have clear repair tape, apply a small square of tape to both sides of the mesh hole, pressing them tightly together so they fuse.

Preventing Future Damage

  • Clear your campsite: Before pitching your tent, spend 60 seconds clearing away sharp sticks, pinecones, and rocks from the ground layout.
  • Store it bone dry: Packing away a wet tent causes mold, which actively eats through the waterproof polyurethane coatings and weakens the fabric fibers.
  • Mind the zippers: Avoid violently tugging on jammed zippers; this is the number one cause of sudden fabric rips near the tent doors.