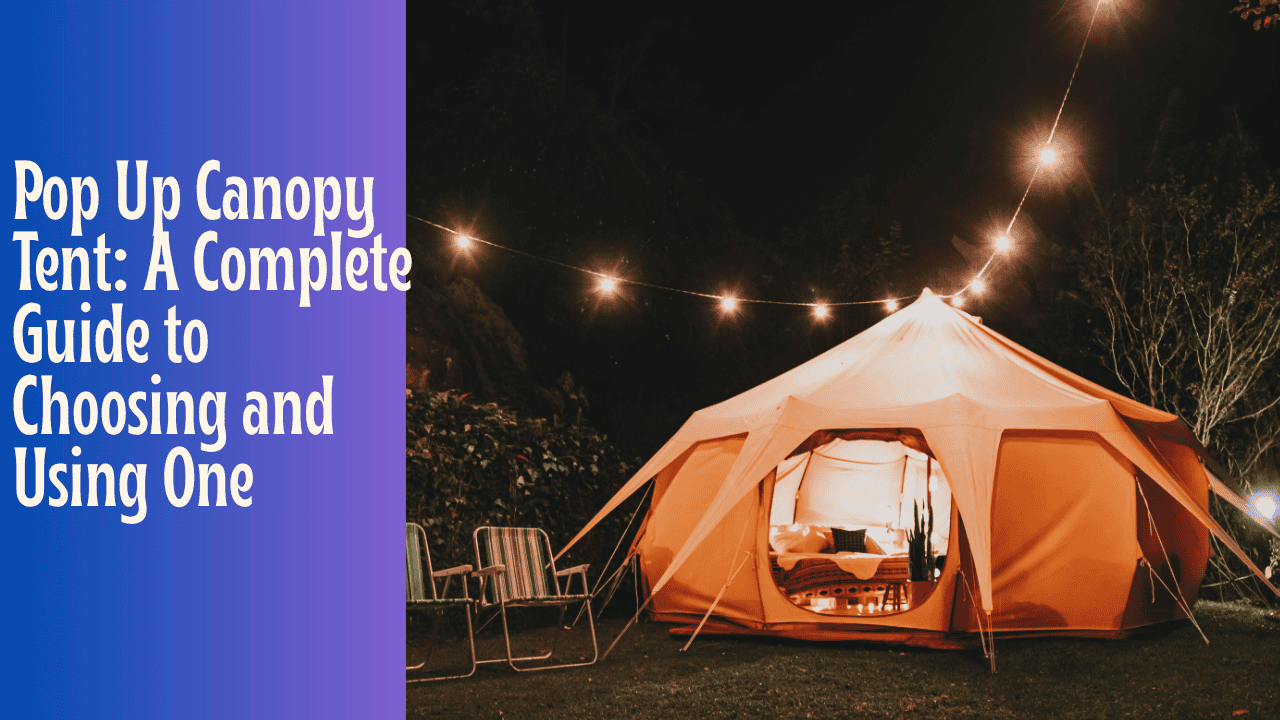
Pop Up Canopy Tent: A Complete Guide to Choosing and Using One
A pop up canopy tent is one of those products that seems simple until you actually need one to work — fast setup before an event starts, sturdy enough to survive a breezy afternoon, and easy enough to pack away that you don’t dread the teardown. This guide covers what pop up canopy tents actually are, the different types available, what to look for before buying, and how to set one up and care for it so it lasts.
What Is a Pop Up Canopy Tent?
A pop up canopy tent (sometimes called an instant canopy, pop up gazebo, or event tent) is a portable outdoor shelter built around a collapsible accordion-style frame, usually made from steel, aluminum, or a mix of both. Unlike a traditional tent that requires assembling separate poles, a pop up canopy’s frame folds out and locks into place in one motion, typically taking anywhere from two to ten minutes to fully set up, depending on the design and how many people are helping.
They’re used for a wide range of purposes: shading a backyard gathering, covering a vendor booth at a market, providing shelter at a campsite, or creating a dry, shaded space at a tailgate or sporting event.
How Pop Up Canopies Work
Most pop up canopies use one of two setup mechanisms:
- Center push (or pull) mechanisms, where a single point at the top of the frame is pushed down or pulled up, causing the entire accordion frame to expand outward and lock into place. This is generally the fastest method and the easiest to manage solo.
- Leg-by-leg mechanisms, where each corner leg is extended and adjusted individually. These tend to take longer and often require two people to keep the frame balanced during setup, but some users find them sturdier once fully assembled.
Once the frame is expanded, a fabric canopy top (usually polyester with a waterproof or water-resistant coating) is stretched over the frame and secured, typically with velcro straps or hook attachments at each frame joint.
Types of Pop Up Canopies
Standard flat-top canopies are the most common and most affordable style, offering straightforward, even coverage. Their flat design is the trade-off, though — flat tops catch wind more easily than shaped canopies, making them less ideal for open or windy locations.
Pyramid or peaked-top canopies use an angled roof design that sheds wind far more effectively than a flat top. They’re a better choice for beaches, open fields, or any location prone to gusts, though they tend to be heavier and slightly pricier.
Canopies with sidewalls add fabric or mesh panels around some or all sides, offering wind blocking, privacy, or bug protection. These are especially useful for vendors, campers in buggy areas, or anyone using the canopy for an extended period rather than a few hours.
Screen houses are a related but distinct category — built with mesh walls instead of open sides, designed specifically to keep bugs out while still providing shade. They’re a poor choice in rain (mesh doesn’t block water) but excellent for humid, buggy environments.
What to Look for Before Buying
Size. A 10×10 ft canopy is the standard default — it covers a picnic table comfortably and fits in most backyards, campsites, or vendor spaces. Larger groups or full event setups may need a 13×13 or even a 10×20 for significantly more coverage.
Frame material and weight rating. Steel frames are heavier but generally more durable and wind-resistant; aluminum frames are lighter and easier to carry but can be less sturdy in strong conditions. Check the manufacturer’s stated wind or weight tolerance if the listing includes one.
Fabric quality. Look for a fabric weight rating (often listed in denier, like “150D”) along with a UV protection rating (UPF 50+ is common and blocks the large majority of harmful rays). Fabric that beads water rather than just slowing it down is a sign of genuine water resistance rather than a light water-repellent coating that wears off quickly.
Setup mechanism. If you’ll usually be setting up alone, a one-push center-lock design saves real time and effort compared to a leg-by-leg setup.
Portability. Most pop up canopies come with a carry bag, and many now include wheels, which matters if you’re regularly hauling the canopy across a parking lot, patio, or uneven ground.
Warranty. A longer warranty (two years or more) is often a reasonable signal of a manufacturer’s confidence in frame durability, especially for anyone planning frequent use.
How to Set Up a Pop Up Canopy Safely
- Choose a level surface and lay the folded canopy frame down before starting.
- Expand the frame using the center push or leg-by-leg method, working slowly to keep the frame balanced as it opens.
- Attach the canopy top, securing it at each frame joint before raising the structure to full height.
- Adjust the legs to your desired height, if the model offers multiple height settings.
- Anchor the canopy immediately — even in calm conditions. Use stakes in soft ground, or weight bags/sandbags on hard surfaces like concrete or asphalt where staking isn’t possible.
- Recheck all locking joints before leaving the canopy unattended, since a loose joint can cause a partial or full collapse under wind or added weight (like pooling rainwater).
Safety and Weather Considerations
Wind is the single biggest risk factor for pop up canopies, and it’s worth taking seriously — canopies can become airborne or collapse suddenly in gusts that feel manageable at ground level. A few rules worth following regardless of which canopy you buy:
- Never leave a canopy unattended in windy conditions, even a well-anchored one.
- Take it down before severe weather rather than trusting the frame to hold up through a storm.
- Avoid letting water pool on the canopy top, since standing water adds significant weight and stress to the frame; a slight slope or center push during rain helps water run off.
- Anchor on every surface type, using stakes on grass or dirt and weight bags on pavement or decking, since default takedown stakes typically only work in soft ground.
Caring for Your Canopy
- Dry it fully before storing it. Packing away a wet or damp canopy is one of the fastest ways to develop mildew, which degrades both the fabric and its smell over time.
- Clean the fabric periodically with a soft brush and mild soap solution to remove dirt, pollen, and debris that can weaken the material’s water resistance over time.
- Store it somewhere dry and out of direct sun between uses, since prolonged UV exposure gradually breaks down most canopy fabrics even when they’re not actively in use.
- Inspect the frame regularly for bent joints, rust, or loose hardware, especially after any use in strong wind, and address small issues before they turn into a full frame failure.
Common Uses for Pop Up Canopies
- Backyard and garden events — birthday parties, BBQs, or simply shading a patio seating area
- Vendor and market booths — craft fairs, farmers markets, trade shows
- Camping and outdoor recreation — extra shelter at a campsite, especially paired with sidewalls
- Tailgating and sporting events — quick shade and a home base in a stadium parking lot
- Beach days — ideally with a wind-resistant pyramid-style frame given typically higher wind exposure
Final Thoughts
A pop up canopy tent is a genuinely useful piece of outdoor gear, but the right one depends heavily on where and how often you’ll actually use it. A flat-top 10×10 is enough for most casual backyard or market use, while windier or more exposed settings call for a pyramid-style frame, and frequent commercial use justifies investing in a heavier-duty steel frame with a longer warranty. Whatever you choose, proper anchoring and weather awareness matter more than the specific model — even the sturdiest canopy on the market isn’t designed to be left up, unattended, in serious wind.