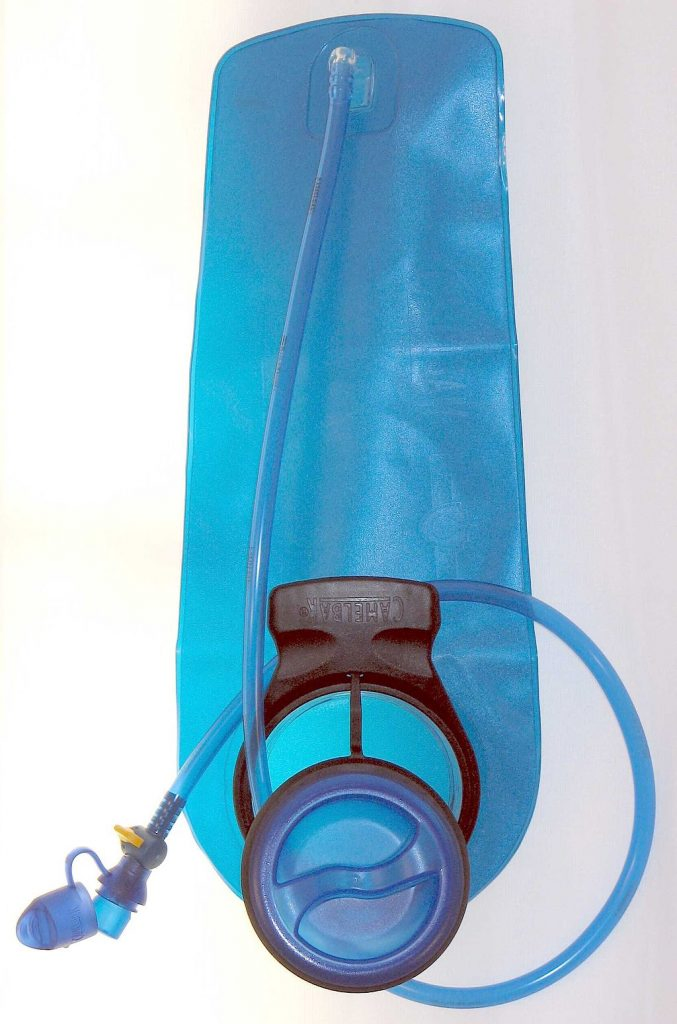
The first thing I did when starting to research this article was to check my own hydration pack and make sure that I hadn’t left any water in it. Thankfully, it was totally dry, but the inside smelled a little like the fish section of the supermarket – not a smell you want from your water source.
Mold is the biggest issue which people face with hydration packs. It can sneak into the drinking tube, the mouthpiece, or the main reservoir. If you follow these steps for cleaning your hydration pack, your reservoir will be sparkling clean and ready for your next adventure in no time.
Cleaning your hydration pack is quick and easy if you know how to do it and have the right tools. In this article, I’ll explain the tools you need for cleaning your hydration pack, how to give it a thorough wash, and how to keep it clean in the future.
What You Need to Clean Your Hydration Pack
- Cleaning Solution
- There are various cleaning solution options you can choose from including bleach, baking soda, vinegar, lemon juice, or specific hydration pack cleaning tablets.
- Baking soda: Most people already have baking soda in their kitchens. CamelBak recommends using approximately two tablespoons per liter. I would recommend this with a little bit of vinegar, as it’s cost-effective and adds an additional cleaning reaction between the baking soda and vinegar.
- Vinegar: Another cleaning option, vinegar is a safe and natural cleaner. You can also mix white vinegar with baking soda. The vinegar will have a fizzy reaction with baking soda, so keep it away from your face.
- Lemon juice: Lemon juice helps neutralize strong odors and is also a natural cleaning option. You can also mix this with baking soda, and it will have a similar reaction to vinegar.
- Reservoir cleaning tablets: Many different brands such as CamelBak, Essential Values and HydraPak sell specialized tablets for cleaning your hydration pack which removes the steps of measuring out and finding different ingredients.
- Mild Dish Soap
- Warm Water
- Cleaning Tools
- HydraPak, CamelBak, and Osprey all offer specialized cleaning tools and drying solutions for hydration packs. They are all quite similar and will provide the most thorough results due to the specialized drinking tube brush.
- Alternatively, you can use a regular kitchen scrubber and a cord with a knot on the end which you can push through the drinking tube. Make sure your cord is longer than the tube and stiff enough to enable you to push or pull it through.
- Drying Aid
- You can use a specialized contraption from Osprey or CamelBak to keep the reservoir aired, or use a wine bottle, kitchen whisk or paper towel roll.
Step 1: Add the Cleaning Solution
Fill your water bladder half full with hot (not boiling) water and add your cleaning solution. Lift the reservoir up, then pinch the bite valve in order to let out some of the water mixture. This will ensure that the solution gets to the drinking tube.
If you use a cleaning tablet, follow the instructions on the package for how long to soak. With household mixtures, allow the solution to sit for around 20 minutes, then drain the system through the bite valve.
Step 2: Wash with Dish Soap, then Rinse
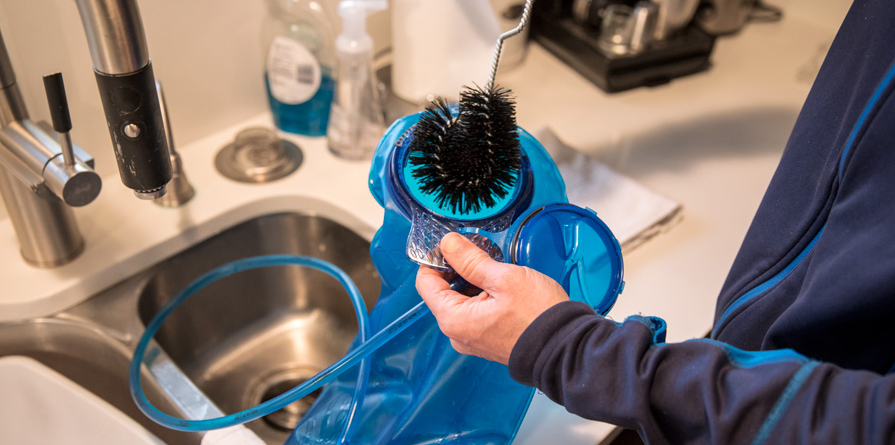
Refill the bladder and add a couple drops of your dish soap. Use your cleaning tools to scrub the inside of the reservoir, drinking tube, and bite valve. Run the piping through the drinking tube several times in order to remove any sticky residue.
Separate the mouthpiece and soak it in a different bowl with some soapy water, then scrub and rinse on its own.
Once you’re finished scrubbing, rinse the entire system to wash away all soap and cleaning solution.
More: Osprey Raptor 14 OR CamelBak mule
Step 3: Air Dry and Store
Allow your hydration bladder to air dry upright, in a non-humid area. Use your hanger, wine bottle, or kitchen whisk to prop the reservoir open and make sure that air can get in and water can drip out.
Give everything plenty of time to dry completely to avoid any mold returning when you store the hydration pack. If you live in a particularly humid area, you can also store the dry bladder in your freezer which will freeze any potential bacteria may accumulate in the pack.
Moving forward, the most important thing when keeping your hydration pack clean is to dry it after every outing. When you get back from adventuring, empty any leftover water, allow the system to air dry completely, then store it in a dry place or in your freezer.
Final Thoughts
If you store your hydration pack correctly, you shouldn’t need to thoroughly wash the reservoir more than twice a year. However, these two times are super important for making sure your water is clean and tastes good. If you put liquids other than water in your hydration pack, you may want to wash it more regularly.
I hope this article was useful and gave you all the information you need to ensure you always have a clean hydration pack. If you enjoyed it, share it with your friends and feel free to add any extra tips in the comments.
Can you be more specific about the content of your article? After reading it, I still have some doubts. Hope you can help me. gate io Registrera dig
Your point of view caught my eye and was very interesting. Thanks. I have a question for you.